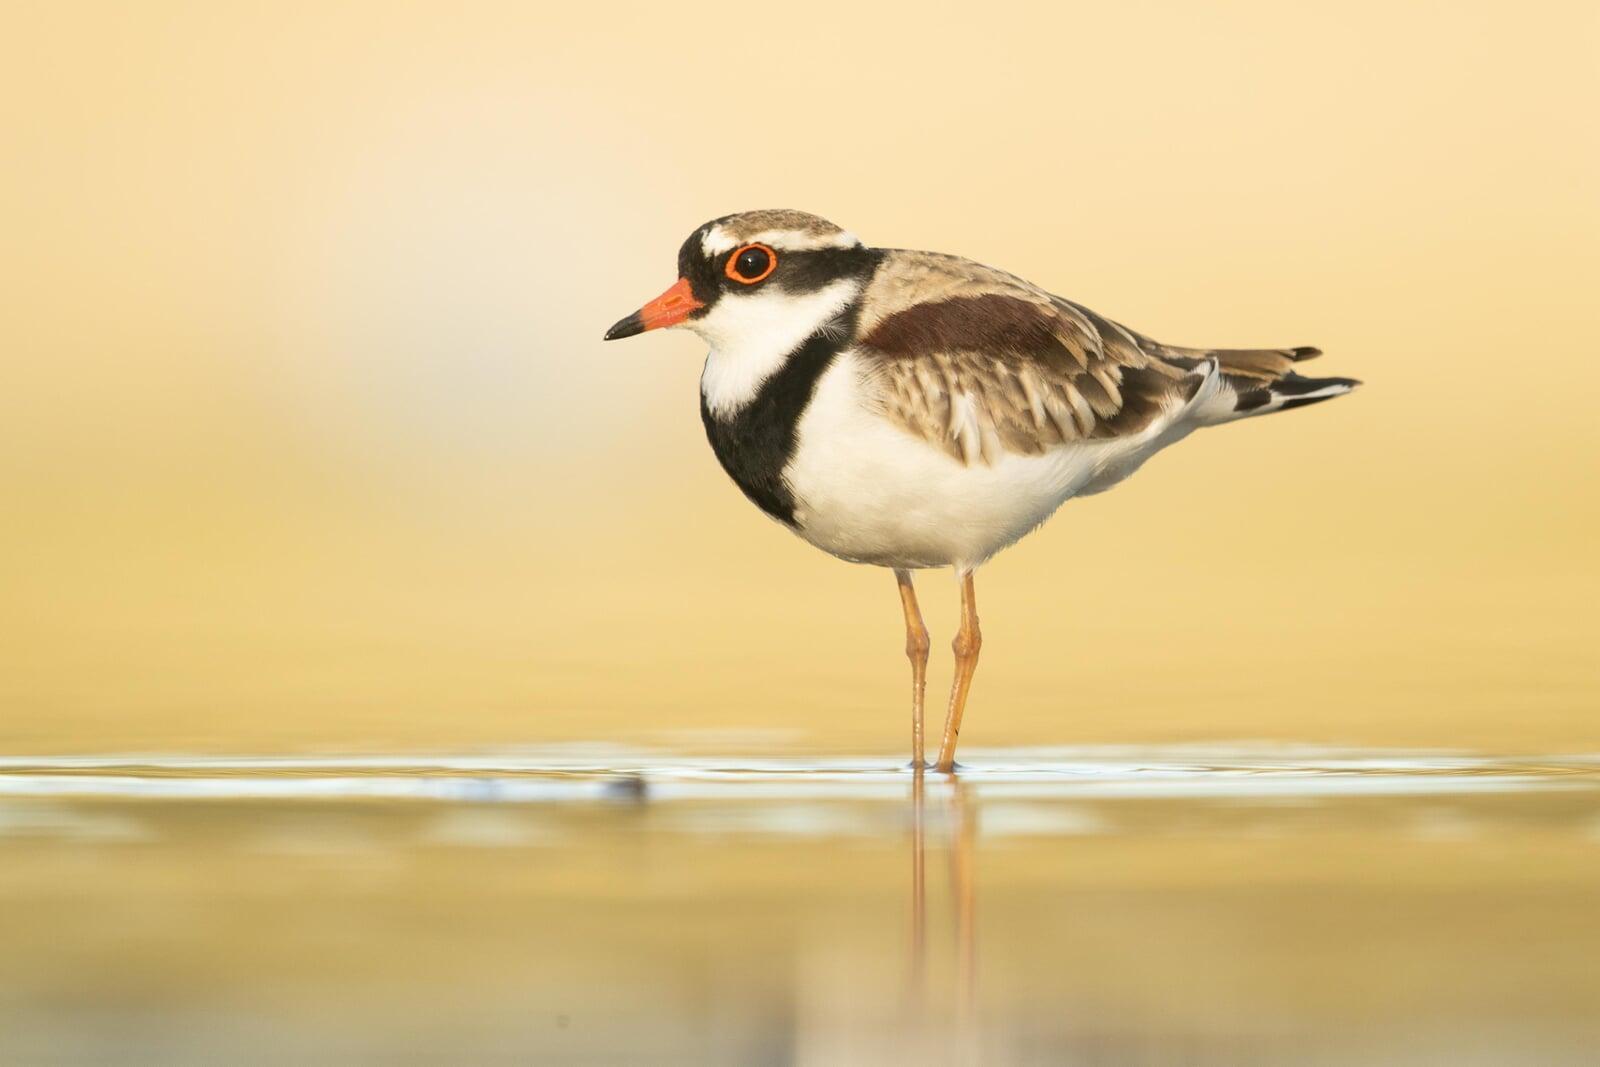
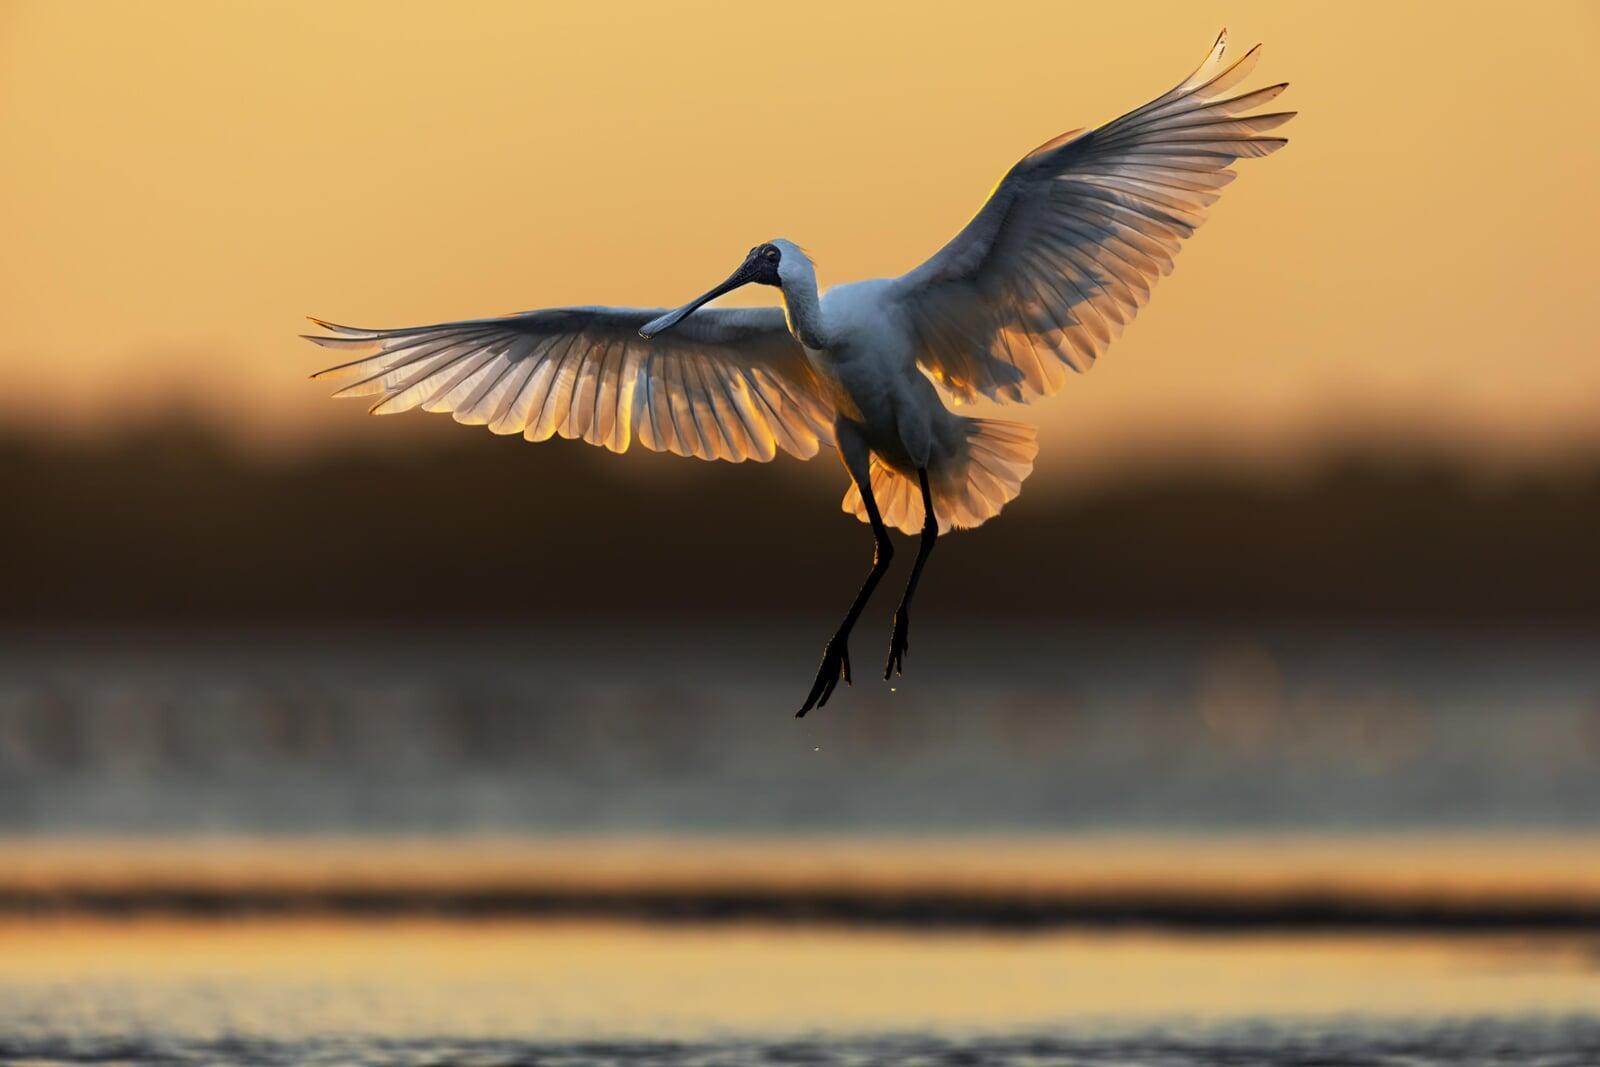
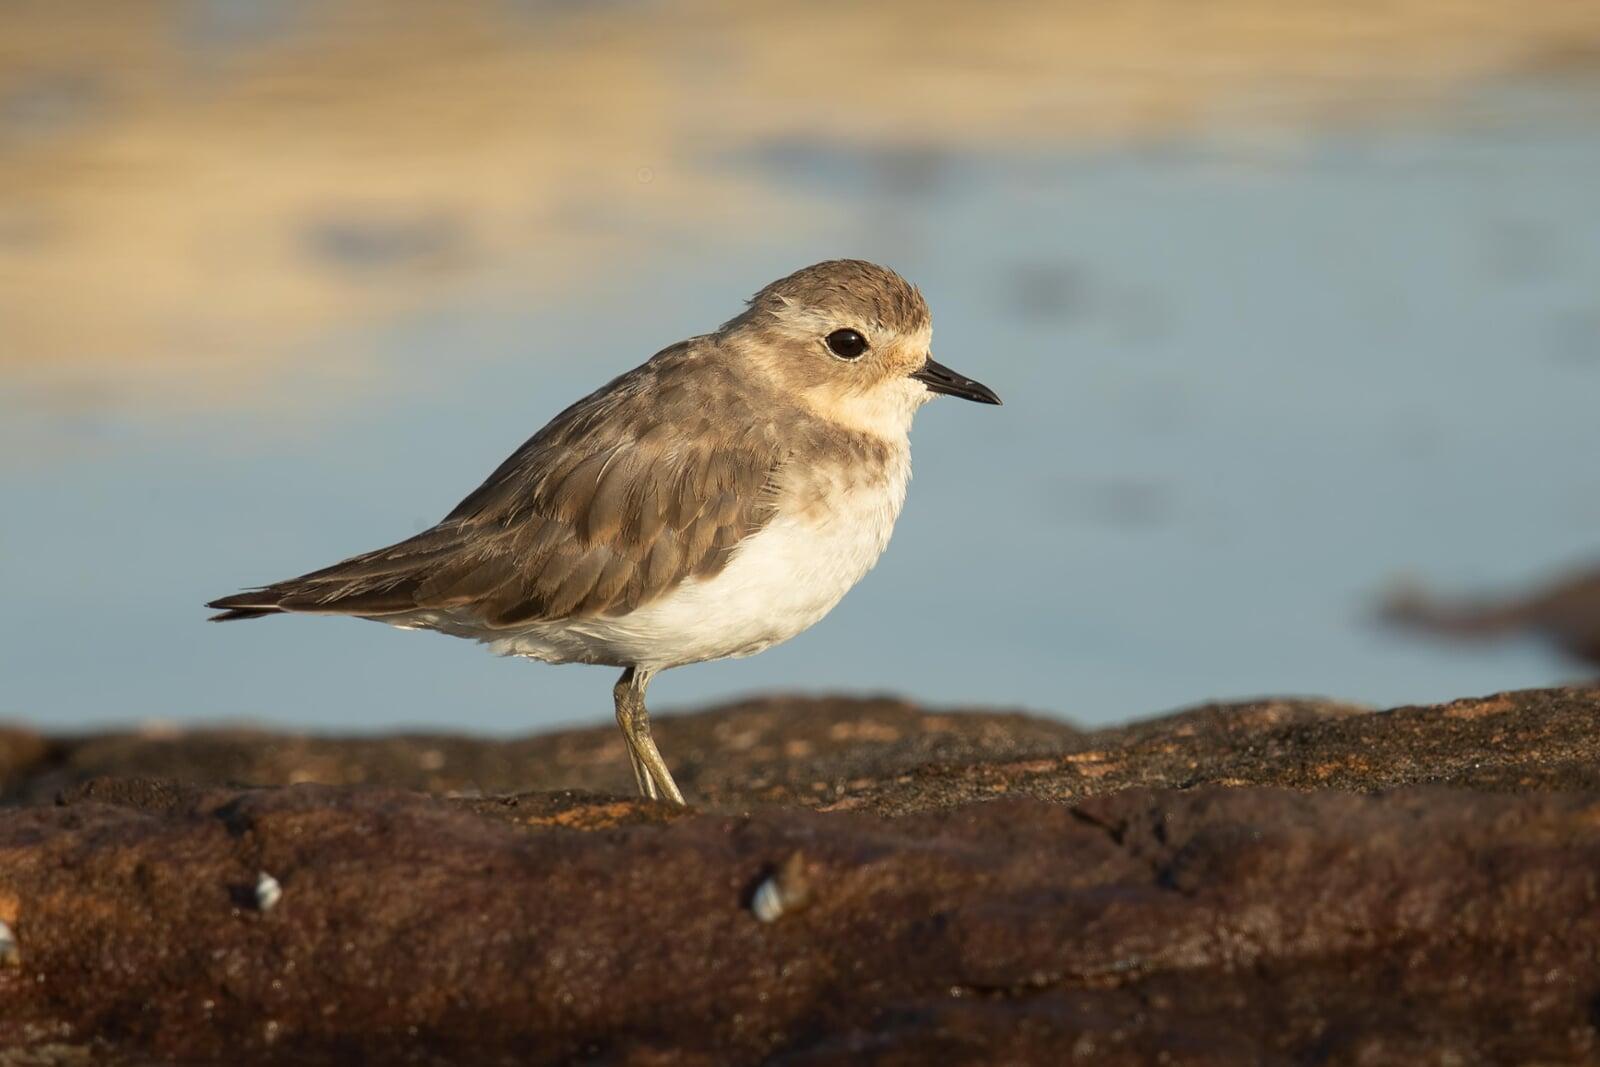
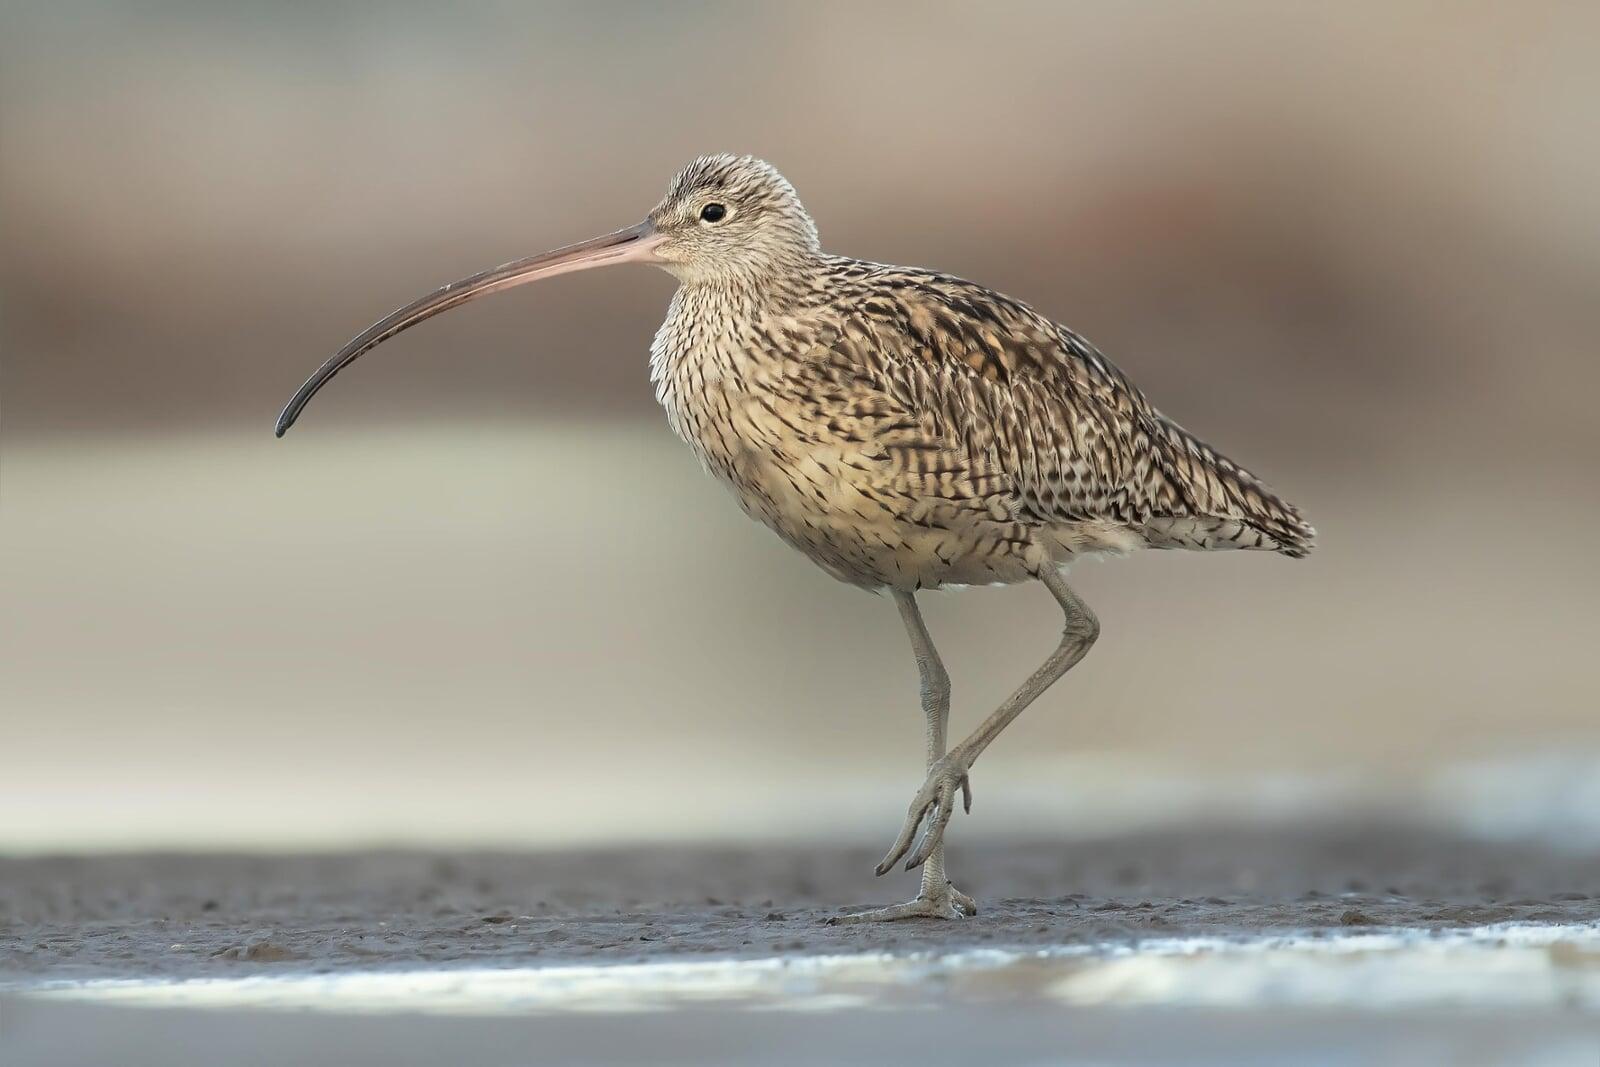
Photographing shorebirds and other wading birds presents a mix of challenges: open ground, skittish subjects, glare, and constantly changing water levels. These notes outline practical methods that improve field results: how to move without causing disturbance, recognise useful conditions, and work safely and efficiently from both water and land.
Timing: Tides, Light and Seasons
Timing is incredibly important for shorebird photography. Shorebirds follow predictable cycles driven by tides, light, and migration.
Tides
Most shorebirds move with the tide, so rising or falling conditions are best for photography. They are generally most active on a falling tide: as new feeding areas are exposed, birds advance steadily toward the shoreline and concentrate their activity in a narrow, accessible zone. A rising tide can also be productive if you position yourself ahead of the advancing water; birds will walk or fly toward you as they are pushed inland or into higher pools.
Light
Early and late light produces low angles, warm tones, and reflections over wet sand. Morning light is often calmer and less distorted by heat haze. Midday sun creates harsh contrast and glare, though overcast conditions can soften these effects. Aim for days when the tide is rising or falling at sunrise or sunset, combining optimal light with active bird movement.
Season influences both appearance and distribution. In Australia, coastal habitats host large numbers of migratory waders from the northern hemisphere between September and March. Most remain in dull non-breeding plumage through summer but begin showing partial to full breeding colours by March and April before migration north. Some species are resident year-round, while the Double-banded Plover arrives from New Zealand during winter.
Understanding when each species arrives, feeds, and departs helps you plan sessions for specific outcomes — whether that’s capturing feeding flocks, breeding plumage detail, or courtship behaviour.
Approaching Shorebirds
Getting close to shorebirds without causing disturbance requires an understanding of both their behaviour and the environment. Most species are naturally wary, but with careful timing, movement, and positioning, it’s possible to work at close range while keeping birds relaxed and behaving naturally.
Rising Tide: Position and Concealment
During a rising tide, birds are gradually pushed toward higher ground or sand ridges. The best strategy is to position yourself in advance of this movement, ideally at a point where the tide will bring birds toward you. This allows them to approach under their own control rather than being followed.
Set up well before the birds arrive, using camouflage to reduce your outline - a thick ghillie suit is perfect for this. In some cases it's also possible to use natural cover like driftwood or seaweed. The truly dedicated could consider burying themselves in the sand too!
Falling Tide: Controlled Approach
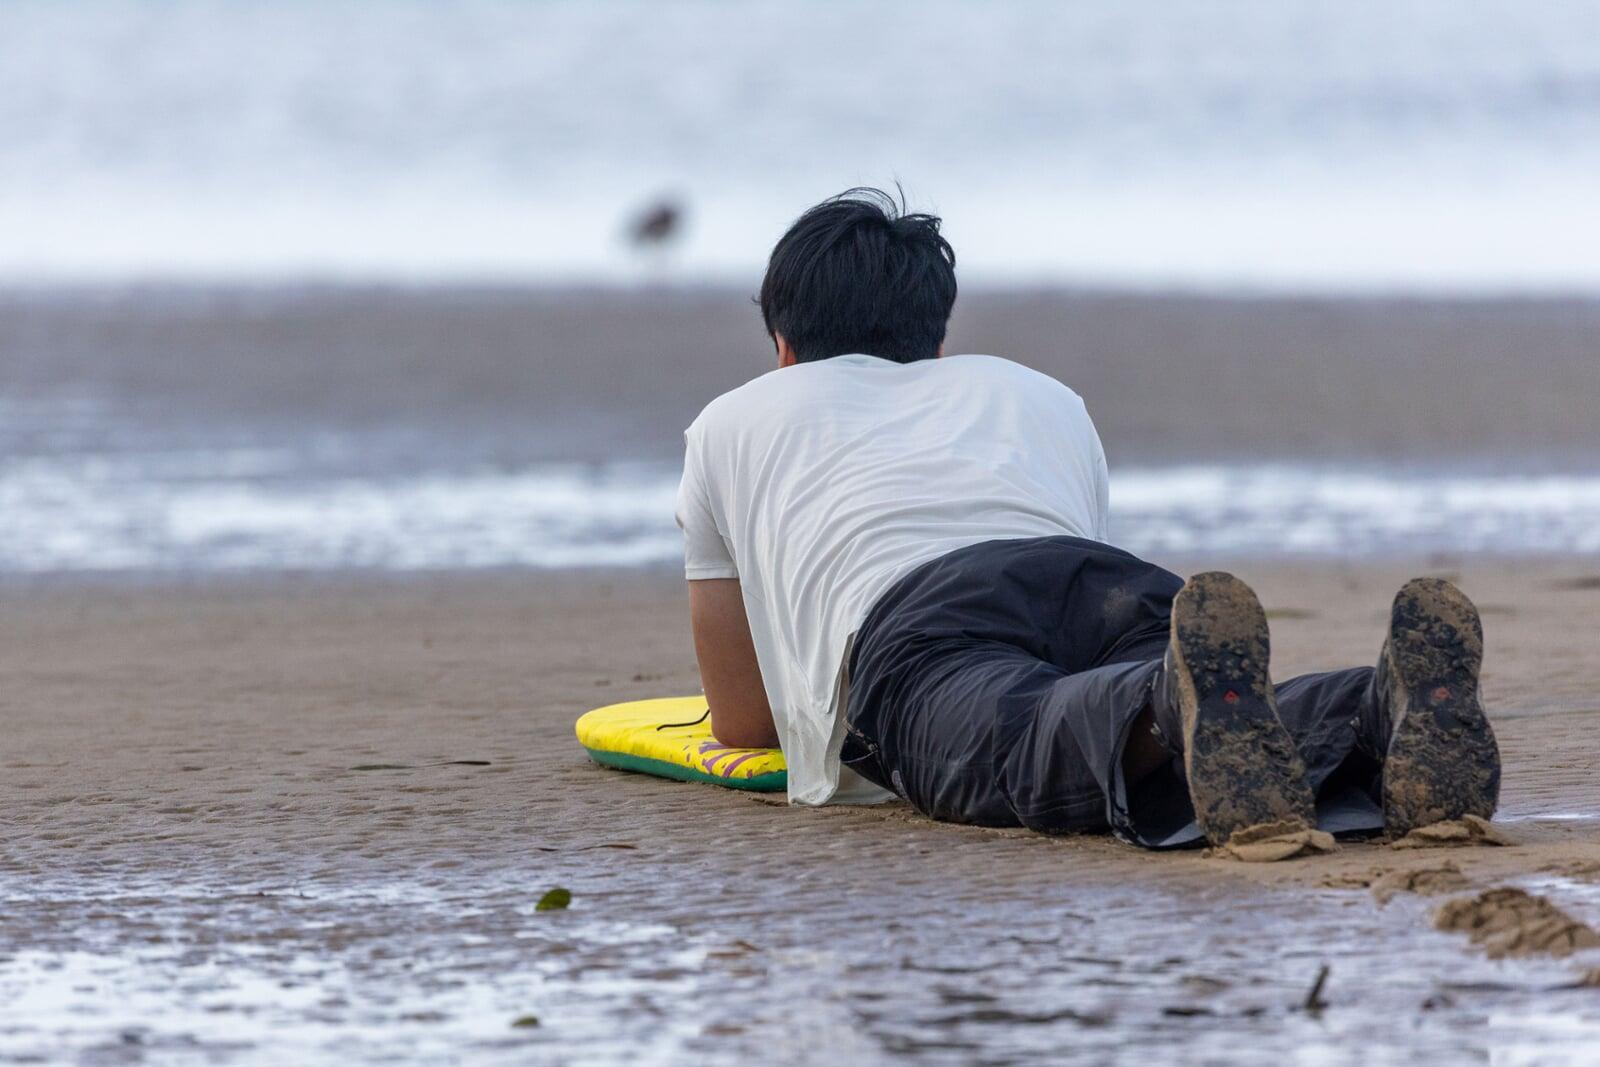
On a falling tide, birds spread out as new feeding areas are exposed. This creates opportunities to approach slowly and indirectly. Keep a low profile. Move in zig-zag paths rather than straight lines - direct movement toward a flock mimics predator behaviour. Pause frequently, act as if preoccupied, and keep your body angled slightly away. Make sure movements are smooth. As you approach, read the birds behaviour and understand when they are relaxed, wary, or about to flush. Early warning signs that it's best to stop moving or back away slowly include:
Alert postures: Heads rise, necks stretch upright, and birds pause feeding to scan.
Body orientation: Birds start facing into the wind or in a different direction, often shifting their weight to one leg or crouching slightly.
Alarm calls: Sharp, repeated notes indicating rising tension within a flock. Even if some individuals remain feeding, the group is unsettled.
Gear and Equipment
Clothing and Personal Gear
Shorebird photography on sand and mudflats demands practical, comfortable clothing. You’ll often find yourself lying, kneeling, or crawling across wet ground, so protection from abrasion and moisture is essential. A few points to consider:
Clothing: Wear quick-drying synthetics, swimwear, or a lightweight wetsuit depending on temperature. Avoid cotton: it stays wet, heavy, and uncomfortable once soaked with sand or salt water.
Footwear: Optional in warm conditions, though light neoprene booties or sturdy water shoes can help protect against sharp shells or debris.
Protection: UV exposure is intense on reflective sand, and fine grit is abrasive. A wide-brim hat, buff or face covering, and long sleeves reduce both sunburn and visibility. Lycra leg covers or lightweight tights protect your legs if you’re wearing shorts. Don’t forget sunscreen and insect repellent.
Bring a dry change of clothes, a towel, and a waterproof bag for storing wet or sandy items on the return trip.
Camera Support and Stability
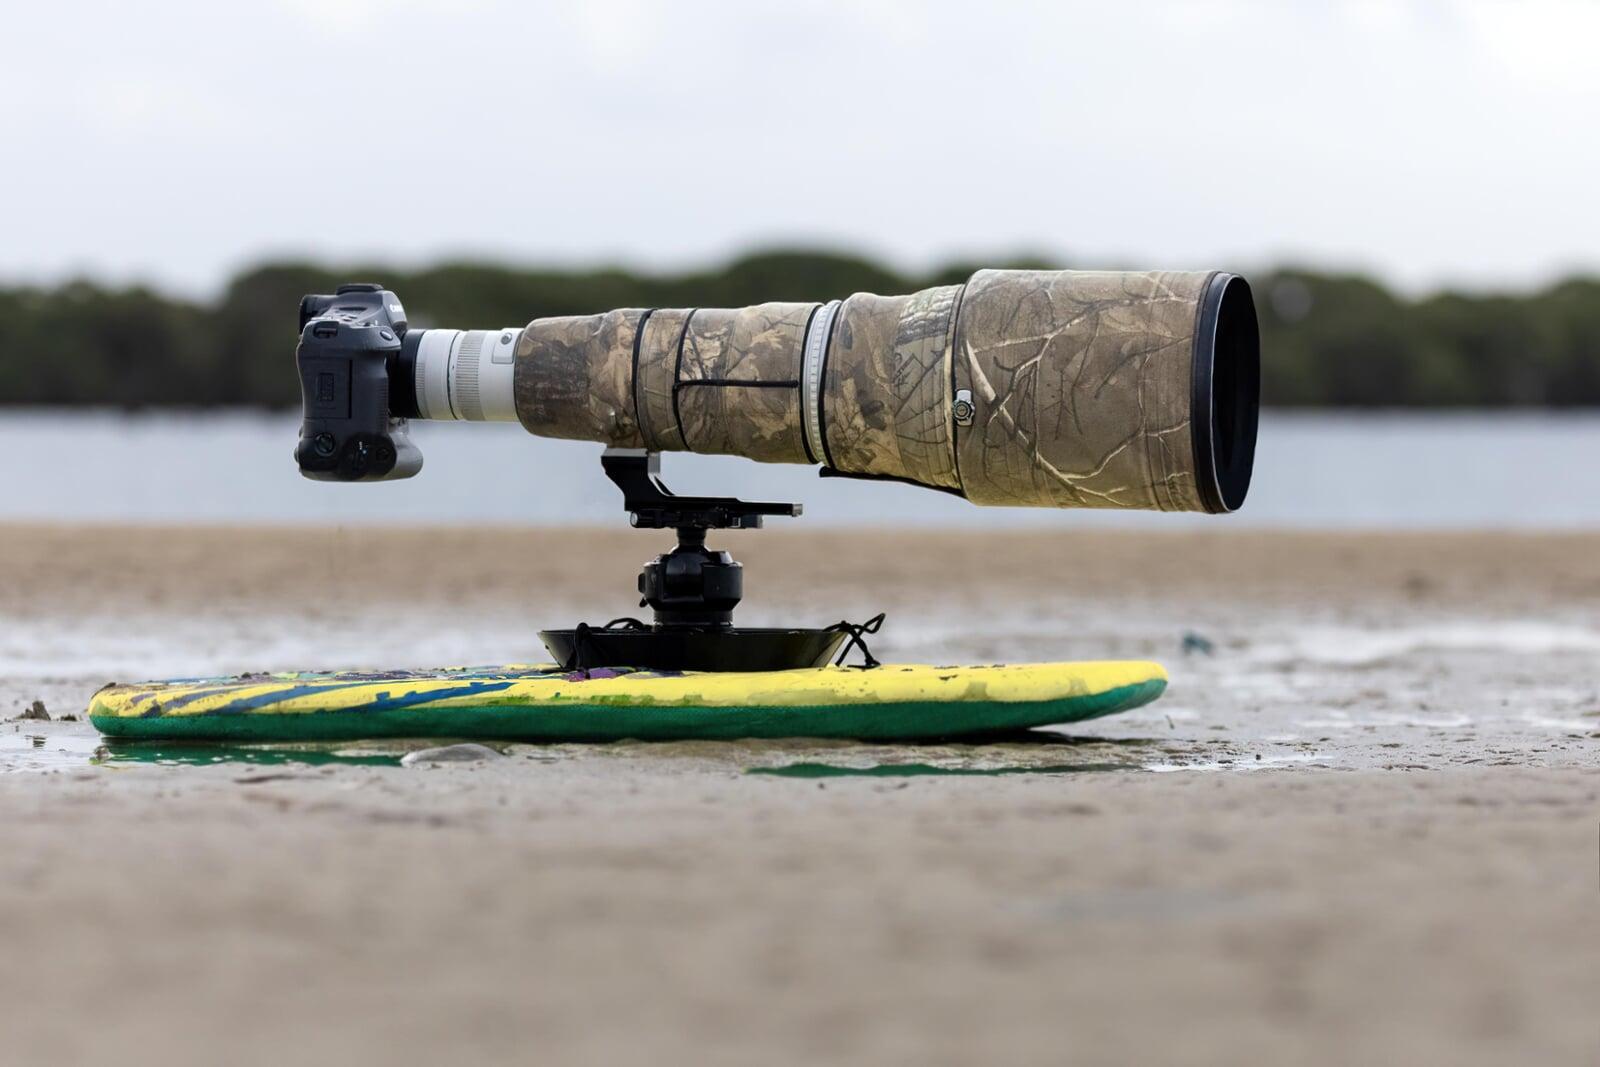
Monopods generally keep the camera too high for a natural, eye-level perspective, while full-size tripods can be cumbersome and require cleaning afterwards. A more effective solution is to put your camera on a sled or bodyboard-style platform that can glide over sand and shallow mud. This allows you to reposition smoothly while staying low and supported.
Technique
Camera Settings and Control
Shooting on tidal flats is technically demanding: bright sand, white plumage, and reflective water can all fool your camera’s metering. Start with these general baselines, then adjust as light and behaviour change:
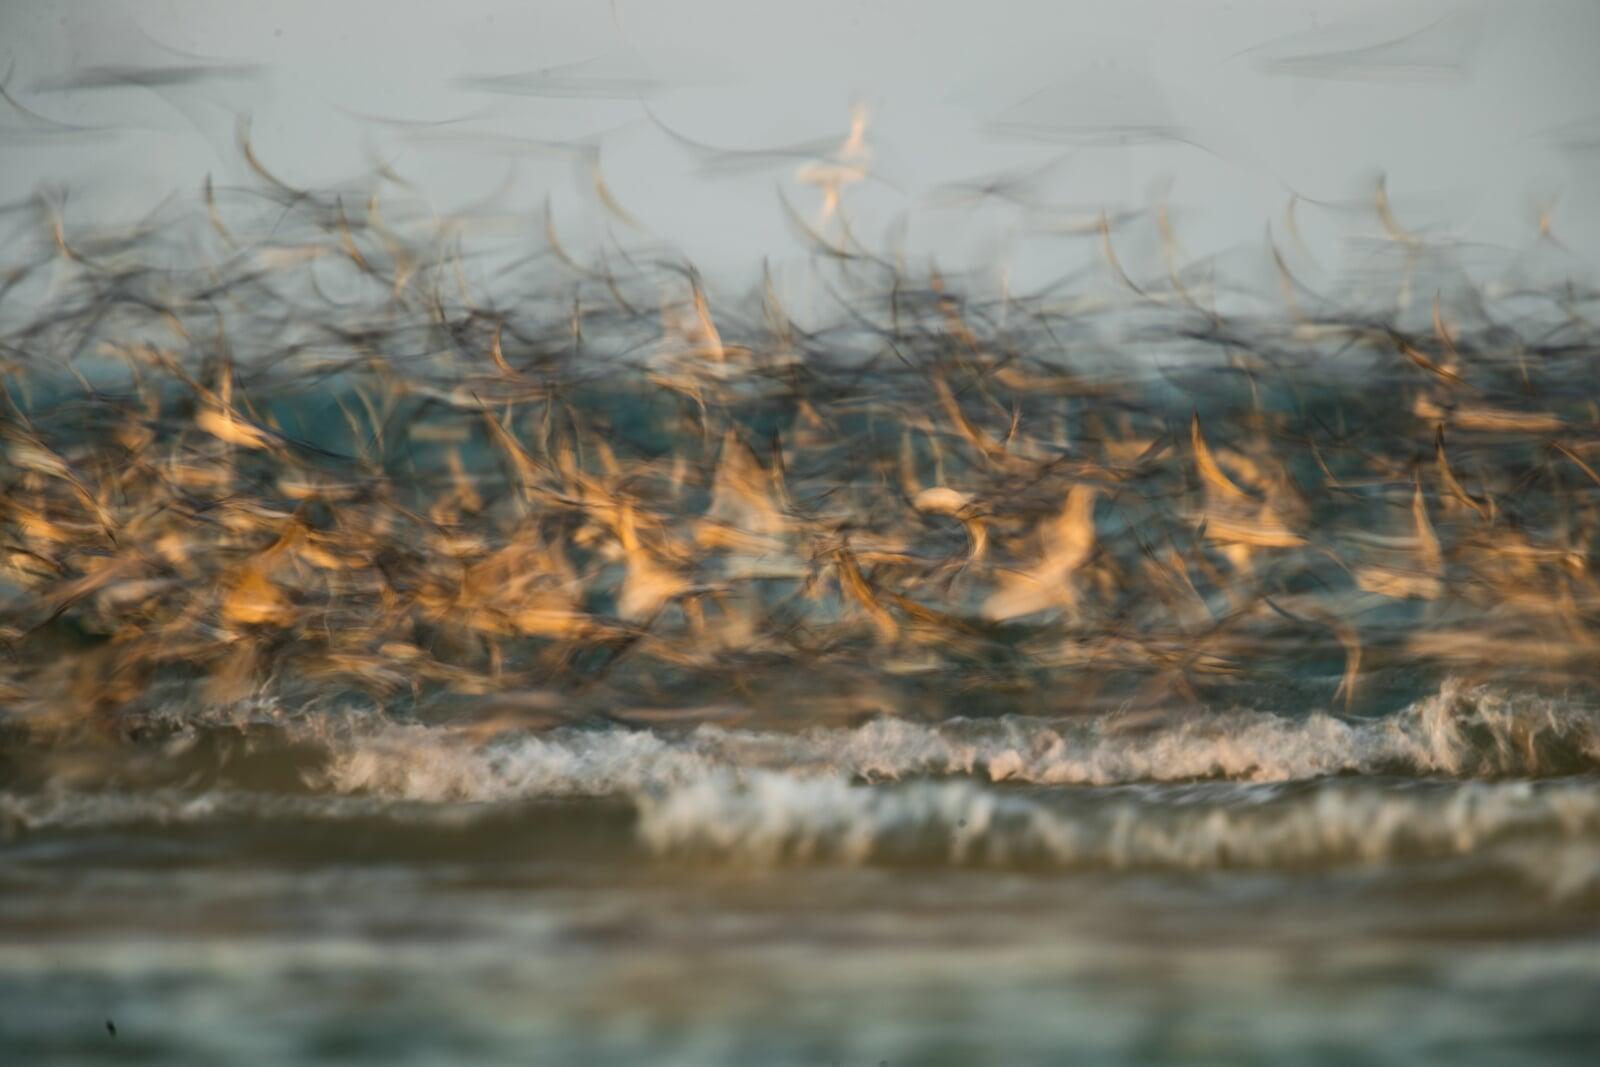
Shutter speed: Start around 1/1000 s for feeding birds, or 1/2500–1/3200 s for flight.
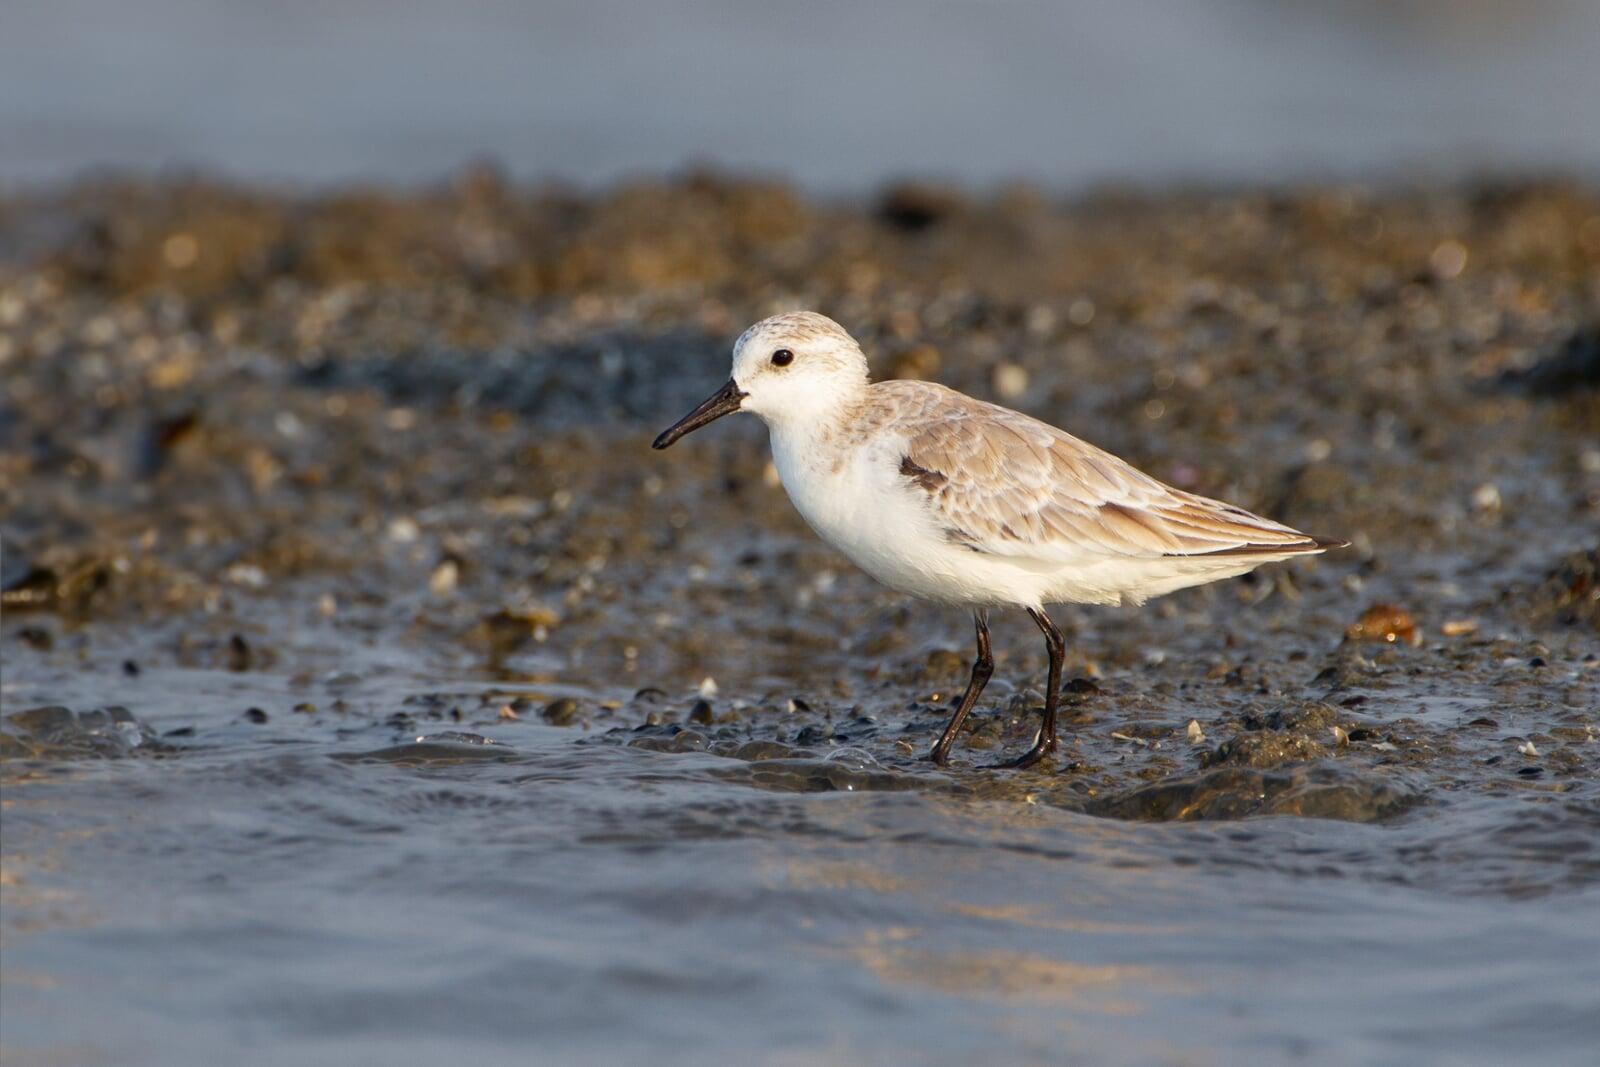
Aperture: Wider apertures isolate single subjects; smaller ones hold multiple birds and reflections in focus. Start with wide open and stop down if you need more depth of field (e.g. due to multiple subjects).
ISO: With modern denoising software it's better to have a slightly higher ISO and shutter speed. Doing so gives you a better chance of catching some intermittant action
Focus mode: Continuous autofocus, preferably with animal recognition is best.
Drive mode: It's best to have your camera set up to take bursts - that way you can take advantage of any sudden actoin.
Check exposure regularly. White plumage in harsh sunlight can blow highlights easily, especially against dark mud or wet sand watch your histogram closely and use some negative exposure compensation if it looks like you're blowing things out.
Composition and Perspective
At eye level, small shifts in height or direction change the entire visual structure. With no background foliage to hide clutter, simplicity is everything.
Use the surface: Wet sand creates gradients and texture lines that can lead the eye toward your subject.
Leave space to move: Frame with open space in front of the bird’s gaze or direction of travel.
Commit to reflections: Either show them fully or exclude them; halfway crops feel accidental.
Balance the scene: Groups of birds can form natural diagonals or mirrored patterns — position yourself so these lines guide the viewer through the frame.
Explore wider frames: Tight portraits show plumage detail, but wide contextual shots can tell an interesting story too.
If you’re using a low-profile support like the StridePod, use its mobility to fine-tune your horizon height. Even a few centimetres of elevation change can shift the reflection line or eliminate a distracting ridge in the sand.
A few notes on managing backgrounds when photographing shorebirds:
Stay low — a few centimetres lower turns clutter into blur and pushes the horizon out of frame.
Choose distance — the farther the background, the smoother it becomes.
Use soft colours like wet sand or haze behind the bird; avoid overlapping with strong lines or dark ridges.
Tiny angle changes can remove distractions or align reflections; adjust your StridePod or body position in small increments.
Control the light, control the background — do both, and even common species in flat landscapes start to look extraordinary.
Final Thoughts
Shorebird photography is mostly about good preparation and consistency. Good results come from understanding tides, light, and behaviour rather than luck. Plan sessions around conditions that bring birds closer, work low and quietly, and manage your light and background carefully.
Every outing is a chance to refine technique: judging approach distances, reading behaviour, and adjusting exposure on reflective surfaces. When the conditions line up, the work you’ve done to prepare pays off. The more predictable you make your process, the more you can focus on what matters: timing, focus, and clean composition.

